Overview
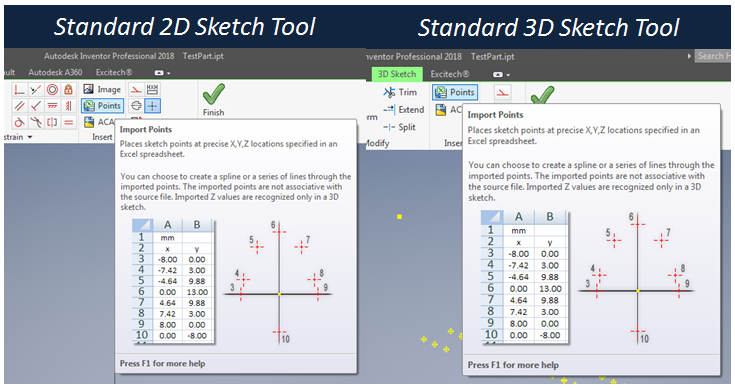
This tool creates and updates work points in an Inventor part file, based on data in the specified Excel spreadsheet. Note there are standard Inventor tools that allow the creation of points from Excel in a 2D or 3D sketch (see image below) but these creates sketch points, not work points. The benefit of creating work points is that they can be individually named, allowing them to be identified easily in future.
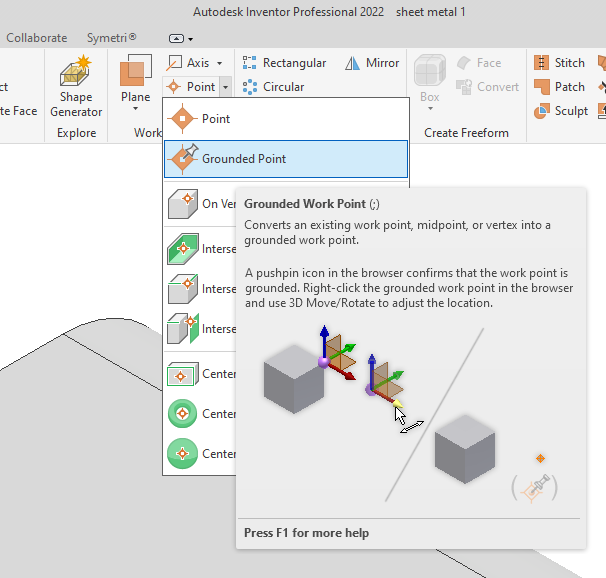
Unlike the standard tools, this tool places grounded work points, the manual equivalent is shown below.
The location of the points is associative to the Excel spreadsheet, and if the spreadsheet changes, then you can run this tool again, and update the points in the model to match the spreadsheet.
Accessing this Tool
The tool is accessed from the Sovelia Toolkit ribbon in the ‘Layout Tools’ panel, as shown below.

Using the Tool
Step 1: Choose link mode
You can choose one of the following options:
Add to Model from Excel
Missing workpoints will be added from the Excel spreadsheet. Existing workpoints will have their positions updated from the spreadsheet Points existing in the model that do not exist in the spreadsheet will NOT be deleted.
Match Model to Excel
This is identical to the above option, except the tool will attempt to delete existing points in the model that do not exist in the spreadsheet.
Step 2: Browse for Excel Spreadsheet
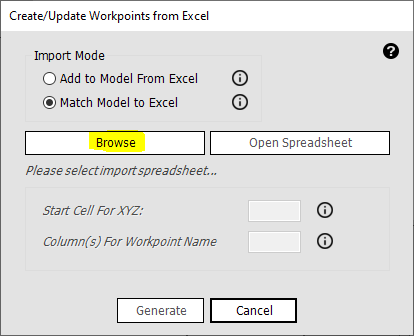
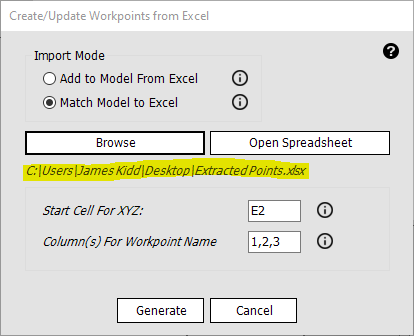
Step 3: Point to the right Excel cells for the data
Getting the right Excel spreadsheet format
The spreadsheet needs to contain 3 columns of data for the coordinates of the work points to be created, and up to 4 column(s) of data to define the name of each work point.
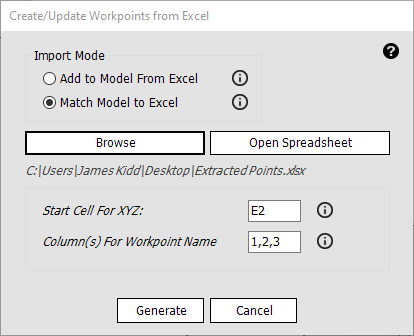
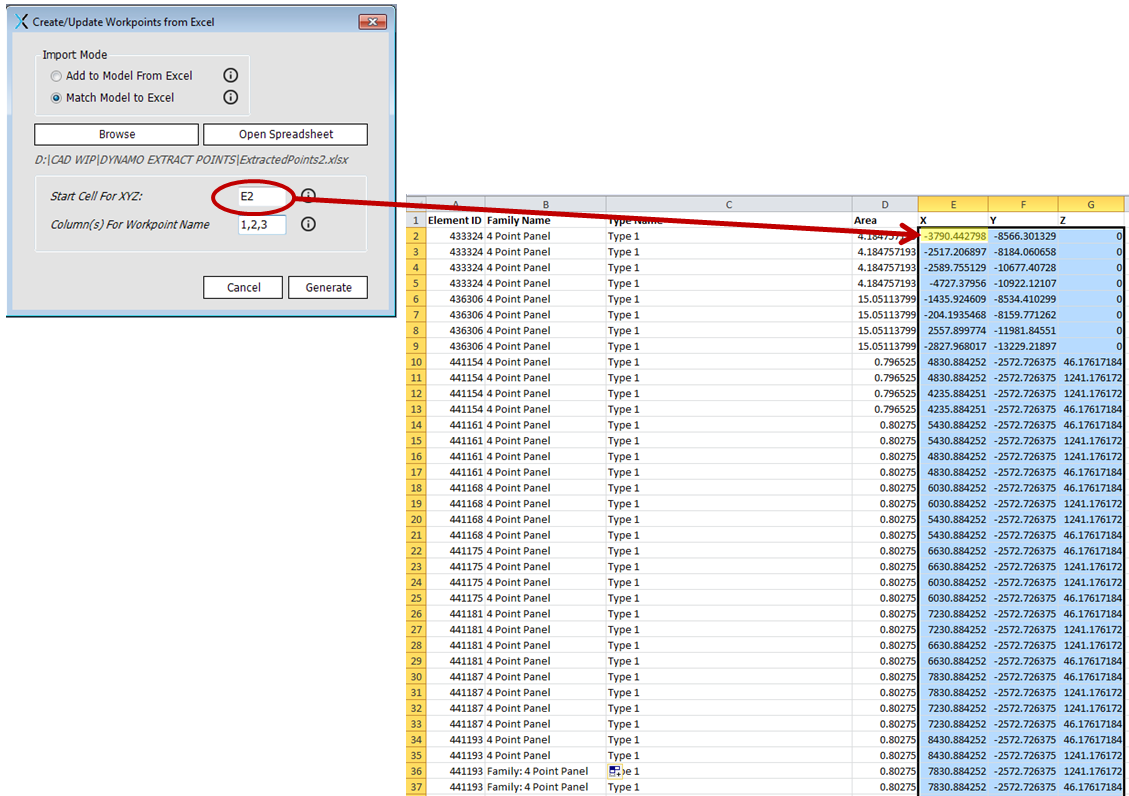
The form allows you to specify where the coordinate data (XYZ coordinates) starts. In the example below, the XYZ data starts in cell ‘E2’. (Note the column headers do not count as data)
Defining the XYZ coordinate data position
Defining the Work Point Names
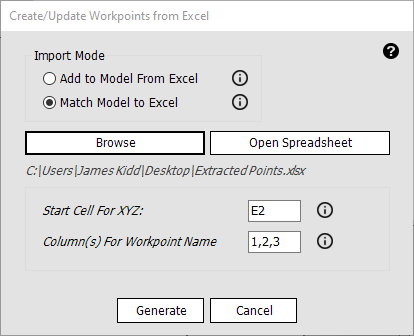
You can specify up to four columns to define the name of the work points. In the example below, columns 1, 2 & 3 have been specified. The first work point to be created/updated will therefore be named: 433324-4 Point Panel-Type 1-1.
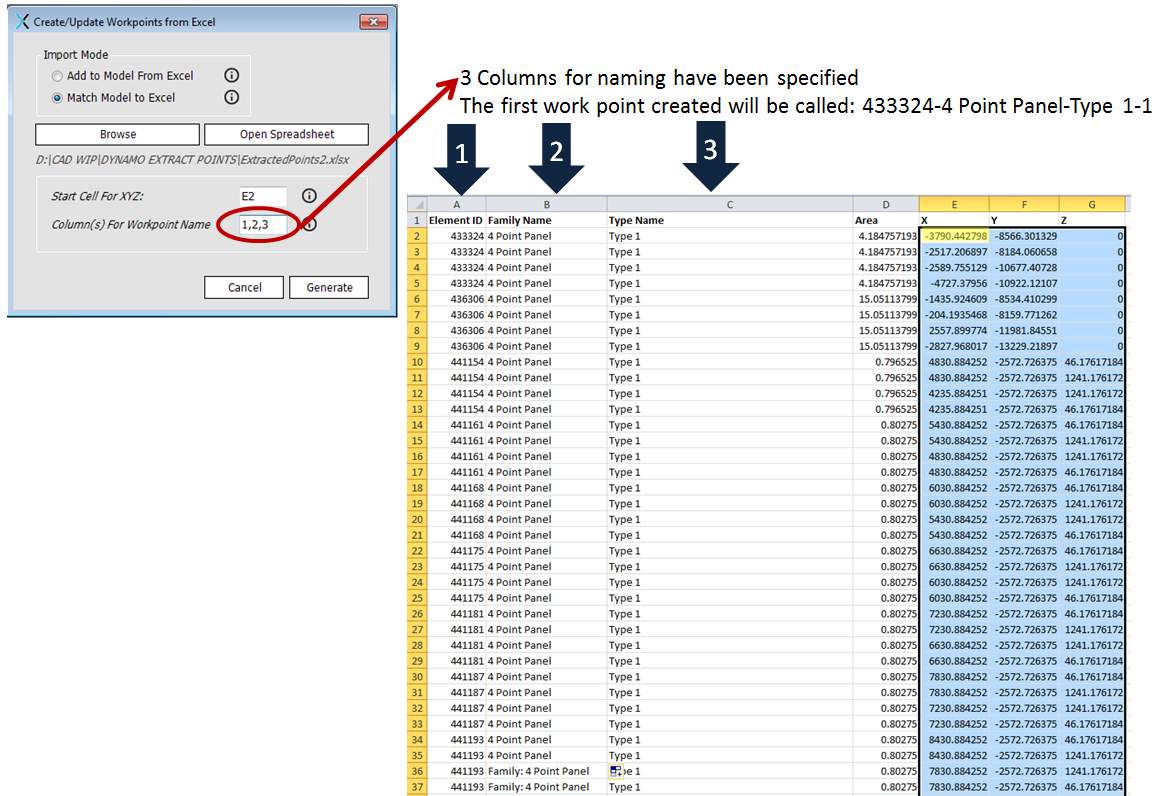
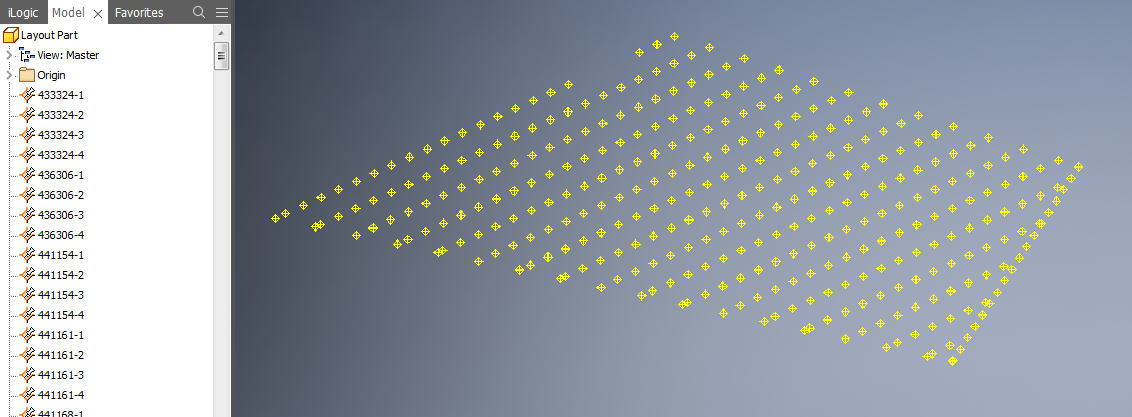
If you look at the Excel spreadsheet example above, you can see that the first 4 rows have the same values for the name (i.e. the values in columns 1, 2 & 3 are identical). When this occurs, the tool will automatically increment a suffix for the point naming. The first four points in the model will be named as shown below:

Step 4: Hit ‘Generate’ and the points will be created/updated.
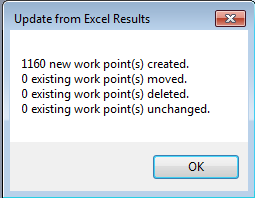
You will receive a summary of the points that have been created, moved, deleted and left alone.
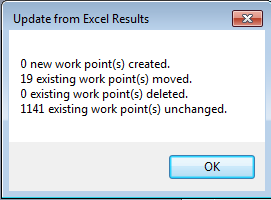
If the spreadsheet changes, you can re-run the tool, and check that the correct quantity of points have been moved or deleted (see below).
Notes (FAQ)
Q: How do I control the units for the imported points (i.e. inches, cm, mm etc.)
A: The tool will automatically recognise the units of the active part file, for mm, cm and inch units. The points will be created and updated using these units.
